
Contents
Could a quick visual check reveal water damage before it spreads? Water damage assessment starts with inspecting ceilings, walls, and floors for stains, soft spots, and dampness, then tracing leaks around fixtures and hidden areas such as crawl spaces. A flashlight, moisture meter, and careful documentation can help you distinguish surface issues from deeper moisture or contamination. The next step may determine whether you can address the problem yourself or need professional intervention.
Key Takeaways
- Prioritize safety: wear protective gear, shut off power if safe, and avoid unstable floors, ceilings, and standing water.
- Find the source by tracing moisture to the highest point and checking plumbing, roofs, windows, appliances, and hidden spaces.
- Document all damage with photos, dates, locations, and backups before moving or drying anything for insurance claims.
- Inspect each room for structural issues, including warped flooring, sagging ceilings, cracked drywall, and shifted door frames.
- Assess salvageability quickly, remove contaminated materials, and dry affected areas within 24–48 hours to limit mold growth.
Check for Immediate Safety Hazards
Before you begin any water damage assessment, check for immediate safety hazards so you can avoid injury and prevent further damage.
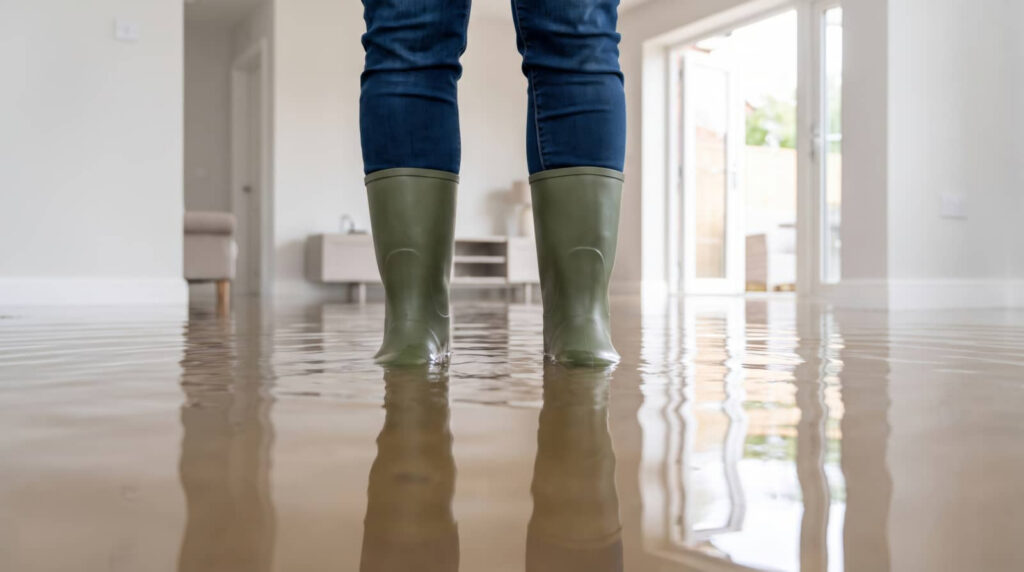
Wear safety gear: insulated gloves, waterproof boots, and eye protection if debris or contaminated water is present.
Shut off power at the breaker only if you can reach it safely; standing water can create electrical risks around outlets, cords, and appliances.
Watch for sagging ceilings, loose drywall, and unstable flooring, because saturated materials can collapse without warning.
Keep pets and children out of the area, and mark unsafe zones so everyone in your home stays protected.
If you smell gas, hear hissing, or see major structural damage, leave the space and call emergency services or a qualified professional immediately.
Find the Water Damage Source
You need to locate the leak origin by tracing wet areas back to the highest moisture point.
Then inspect nearby plumbing, roofing, windows, and appliances for active intrusion.
Check hidden water paths behind walls, under flooring, and in ceilings, since water often travels before it shows surface damage.
Use a moisture meter or thermal camera if available to confirm the source and map the full affected path.
Locating Leak Origins
To pinpoint the source of water damage, trace the moisture path upward and outward from the visible stain, since water often travels along framing, pipes, insulation, or drywall before it appears.
You should use leak detection methods in a systematic order: inspect supply lines, supply valves, appliance connections, roof penetrations, and exterior wall seams.
Compare dry and damp zones with moisture measurement tools to map the likely origin, not just the symptom.
Check nearby plumbing fixtures for loose fittings, corrosion, or active drips. If readings rise near one area, mark it and recheck after short intervals.
You’re not guessing here; you’re building a clear moisture profile that helps your household respond confidently and stay connected to the fix.
Inspecting Hidden Water Paths
Once you’ve mapped the visible damage, inspect hidden water paths by following framing cavities, plumbing chases, soffits, and subfloor edges where moisture can travel unseen.
Use a flashlight, moisture meter, and thermal camera if you’ve got one, then check base plates, insulation, and fastener lines for hidden moisture.
Trace staining uphill, because water often wicks sideways before dropping. Open small access points at suspicious joints, but only where you can safely do so.
You’re not alone in this process; careful water detection helps your team narrow the source and prevent repeat damage.
Listen for drips, feel for cool surfaces, and note warped trim or swollen drywall. Document every finding, then compare both sides of the assembly to confirm the path and stop the intrusion quickly.
Document the Damage for Insurance
You should photograph every affected area before you move or dry anything, including walls, floors, ceilings, baseboards, and damaged contents.
Record the date, time, and specific location of each image, and note visible conditions like staining, warping, mold, or saturation.
Keep these records organized so you can support your insurance claim with clear, time-stamped evidence.
Photograph Every Affected Area
Before cleanup starts, photograph every affected area so you create a clear insurance record of the water damage.
Use water damage photography to capture wide shots, then close-ups of warped flooring, stained drywall, soaked insulation, and damaged trim.
Shoot in good light, keep the camera level, and include reference objects so scale is obvious. Take images from multiple angles to show spread, depth, and material condition.
If you can, use a timestamped camera setting for effective documentation, but don’t alter the scene first.
Back up files immediately to cloud storage or a separate drive so your evidence stays secure.
Clear, complete photos help you match claims to real losses, and they make it easier for your adjuster to trust your record and support your repair team.
Record Dates And Details
Record dates and details for every water-damage finding so your insurance file shows a clear timeline and loss history.
Use record keeping to log each room, affected material, moisture reading, odor, stain, and visible deterioration.
Include date tracking for when you first noticed the leak, when you shut off water, when drying began, and when each contractor or adjuster visited.
Note who you spoke with, what they said, and any reference numbers.
Keep entries factual, brief, and sequential.
If conditions change, update the log the same day so your claim stays consistent.
When you stay organized like this, you’re protecting your home and helping your household feel supported throughout the process.
Share the log with your insurer and keep a backup copy.
Inspect Each Room for Structural Damage
Start in each room and check for signs that the water has compromised the structure, including warped flooring, sagging ceilings, cracked drywall, swollen baseboards, and separated trim.
Follow the room layout methodically so you don’t miss load-bearing corners, wall intersections, or shifts between materials. Press gently on floors and walls to test for flex, then note any bounce, soft spots, or misalignment that could signal loss of structural integrity.
Inspect door frames and windows for shifting, sticking, or gaps, since these changes often show movement in the framing. If you spot damage, mark the location and severity so you can compare each space clearly.
You’re not handling this alone; a careful, room-by-room review helps your whole home stay organized, safe, and easier to restore.
Look for Hidden Moisture and Mold
Moisture often hides behind finishes, so you’ll need to check beyond visible water lines for damp insulation, wet subfloors, trapped water in wall cavities, and condensation around ducts, vents, and plumbing penetrations.
Use moisture detection tools, including a pin meter and infrared camera, to identify elevated readings in framing, drywall, and trim.
Pay close attention to cool corners, baseboards, closets, and areas under sinks or near exterior walls.
If you detect a musty odor, staining, or fuzzy growth, treat it as active mold risk.
Increase ventilation, control humidity, and dry affected areas quickly to support mold prevention.
Stay methodical, document each finding, and keep your team aligned so you can spot problems early and reduce hidden damage.
Judge What Can Be Salvaged
Once you’ve mapped hidden moisture and mold risk, sort materials by whether they can be cleaned, dried, and restored or need removal. You’ll protect your home’s recovery by judging restoration potential with a simple rule: porous, saturated, or swollen materials usually lose value fast, while hard, nonporous surfaces often stay salvageable items.
Check wood, drywall, insulation, carpet padding, and upholstered pieces for warping, odor, staining, and breakage. If a material dries flat, holds shape, and wipes clean, keep it on your salvage list. If it crumbles, delaminates, or traps contamination, remove it.
Label each item, separate keepers from discards, and document what you decide. That way, you and your household stay organized, aligned, and ready for the next step.
Know When to Call a Water Damage Pro
When the damage goes beyond a small, contained area, call a water damage pro before you do more harm. You’ll protect your home, your crew, and your timeline.
If water has reached walls, subfloors, insulation, or electrical systems, you need specialized emergency response. Pros use moisture meters, infrared scans, and structural drying to stop hidden decay and support water damage prevention.
- Visible mold, swelling, or warping keeps spreading.
- Water came from sewage, flooding, or a broken supply line.
- You can’t dry the area within 24 to 48 hours.
Don’t guess when contamination or structural compromise is possible. A trained team can assess, extract, dehumidify, and document losses so you stay on track with the rest of us.
Frequently Asked Questions
How Soon Should I Start Drying Wet Materials?
Start drying wet materials immediately, ideally within 24 hours, to limit mold and structural damage. You should use immediate action and proven drying techniques, remove standing water, increase airflow, and dehumidify affected areas quickly.
What Tools Detect Moisture Behind Walls?
You can use moisture meters and infrared cameras to find hidden dampness behind walls; they’re your radar and lantern, revealing cold, wet zones fast so you can act with confidence and protect your home.
Can I Use Bleach to Remove Mold?
No, you shouldn’t use bleach on porous materials; it won’t fully kill mold roots. You’ll get better mold prevention by drying fast, fixing leaks, and using bleach alternatives like detergent, vinegar, or hydrogen peroxide.
How Long Does Insurance Usually Take to Respond?
Usually, you’ll hear back within 24 to 72 hours, though complex claim process cases can take longer. You should review insurance coverage quickly, submit documents promptly, and keep follow-ups clear so you stay informed.
Should I Replace Carpet After Flooding?
Yes, you should replace carpet after flooding if padding stays soaked or contamination’s present. Like a sponge gone sour, it harbors microbes. You’ll need carpet evaluation and water restoration to decide salvageability, drying, and safety.
Summary
By following these steps, you can move through the aftermath with a clear eye and a steady hand. You’ll spot hazards, trace the leak, and document every warped board and stained wall before damage spreads like a dark stain through fabric. With moisture meters and careful inspection, you can separate salvageable items from ruined ones. If the water’s left a hidden trail, call a pro fast to stop mold before it blooms.
Recent Posts
Crawl Space Standing Water Assessment Guide
If you’ve spotted standing water in your crawl space, you need to identify the source
How to Assess Crawl Space Standing Water
If you notice standing water in your crawl space, you need to identify where it’s
5 Tips for Overflow Water Damage Inspection
When you face overflow water damage, you need to move fast and inspect methodically. First,