Contents
When you encounter wet drywall cleanup, it’s vital to act quickly and methodically. Start by evaluating the damage and taking necessary safety precautions to protect yourself. You’ll need the right tools and techniques to remove the affected areas effectively. Once the wet drywall is out, drying the space properly is key to preventing mold growth. Cleaning surfaces afterward ensures a safe environment. But how do you confirm that your repairs are durable and resistant to future moisture?
Key Takeaways
- Conduct a thorough damage evaluation to identify moisture intrusion and affected areas before starting cleanup.
- Use essential tools like a utility knife and a pry bar to safely remove wet drywall.
- Implement effective drying techniques, such as using fans and ventilation, to eliminate moisture from affected areas.
- Clean and sanitize all surfaces using a detergent solution and disinfectant to prevent mold growth and ensure safety.
- Repair or replace damaged drywall with moisture-resistant materials and install proper moisture barriers to avoid future issues.
Assessing the Damage and Safety Precautions
Before diving into the cleanup process, it’s crucial to assess the damage and ensure your safety.
Start with a thorough damage evaluation to identify affected areas and the extent of the moisture intrusion. Look for signs of mold growth, structural issues, or compromised electrical systems.
Once you’ve assessed the situation, gather your safety equipment. Wear gloves, goggles, and a mask to protect yourself from potential contaminants and allergens.
Gather necessary safety equipment, including gloves, goggles, and a mask, to shield yourself from contaminants and allergens.
If the damage is extensive or involves hazardous materials, consider calling in professionals.
Remember, taking these precautions safeguards your safety and fosters a sense of community, as you can share your experience with others facing similar challenges.
It’s imperative to tackle this responsibly and thoughtfully.
Removing Wet Drywall: Tools and Techniques
When dealing with wet drywall, having the right tools and techniques is essential for effective removal. Start by gathering your drywall tools: a utility knife, a pry bar, and a stud finder. Use the stud finder to locate framing, then carefully cut around the damaged area with the utility knife. Once you’ve exposed the wet drywall, employ the pry bar to remove it without damaging the surrounding material.
With these tools and techniques, you’re set for successful drywall removal.
Drying Out Affected Areas Effectively
After removing wet drywall, focus on drying out the affected areas to prevent mold growth and further damage.
Start by using ventilation techniques, like opening windows and doors, to promote air circulation. You can also set up fans to increase airflow, which helps evaporate moisture.
To ensure you’re tackling the problem effectively, invest in a moisture meter. This handy tool lets you measure moisture levels in walls and floors, so you know when it’s safe to proceed.
Keep a close eye on the readings and continue drying until you reach acceptable levels.
Cleaning and Sanitizing Surfaces Post-Water Damage
Although you’ve successfully dried out the affected areas, the next vital step is cleaning and sanitizing surfaces to eliminate any lingering contaminants.
Start by using a mixture of water and detergent to scrub all surfaces affected by water damage. Pay special attention to corners and crevices where moisture might remain.
After cleaning, use a disinfectant to kill bacteria and mold spores, which is essential for mold prevention and minimizing health risks.
Be certain to wear gloves and a mask to protect yourself during this process.
Once everything is sanitized, allow surfaces to dry completely before moving on.
This thorough approach ensures a healthier living environment and fosters a sense of safety and community for everyone involved.
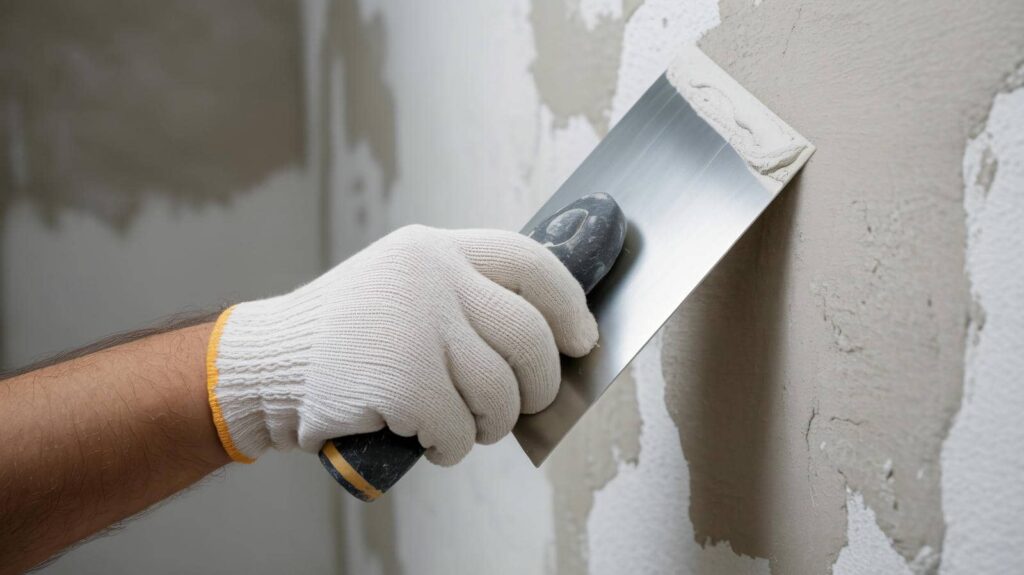
Repairing and Replacing Damaged Drywall
Once you’ve cleaned and sanitized the affected areas, it’s time to assess the damage to your drywall. Determine whether you can repair it or if replacement is necessary. If you opt for replacement, verify you use moisture-resistant drywall and proper moisture barriers to prevent future issues.
Frequently Asked Questions
How Can I Prevent Future Water Damage to Drywall?
To prevent future water damage to drywall, use waterproofing techniques and install moisture barriers. Regularly inspect plumbing and roofs, and ensure proper drainage around your home to keep your living space safe and dry.
Is Insurance Coverage Available for Wet Drywall Cleanup?
You should check your insurance policies for coverage limits regarding wet drywall cleanup. Many homeowners’ insurance plans cover water damage, but specifics vary, so it’s essential to understand your options and any exclusions that may apply.
Can I Clean Wet Drywall Myself or Hire a Professional?
Deciding between DIY cleanup and professional services can be intimidating. If you’re handy and have time, tackle it yourself. Otherwise, trust skilled specialists for a thorough, hassle-free fix, ensuring your home’s integrity is maintained.
What Are the Signs of Mold Growth After Water Damage?
After water damage, watch for discoloration, a musty smell, or visible mold. Prioritize mold prevention by controlling moisture levels through proper ventilation and dehumidification. Staying vigilant helps maintain a healthy living environment for you and your loved ones.
How Long Does It Typically Take to Dry Out Wet Drywall?
Did you know it can take up to 72 hours to dry out wet drywall? Using effective drying techniques and moisture detection tools can greatly speed up the process, helping you restore your space quickly and safely.
Conclusion
So, as you stand in your soggy living room, contemplating a career in underwater basket weaving, remember: tackling wet drywall isn’t rocket science. With your trusty utility knife, fans, and a bit of elbow grease, you can transform that waterlogged mess back into a cozy haven. Just think of yourself as a drywall superhero, saving your home one panel at a time. Now, go forth and conquer those moisture monsters, and don’t forget to wear gloves!
Recent Posts
Top 5 Tips for Inspecting Flooded Basements
When you inspect a flooded basements, your first step is to assess the water level
7 Best Inspections for Flooded Basement Issues
When dealing with a flooded basement, it’s crucial to conduct thorough inspections to pinpoint the
Mold Inspection and Removal After Water Damage
After water damage, you might not realize how quickly mold can develop. Within just 24