
Contents
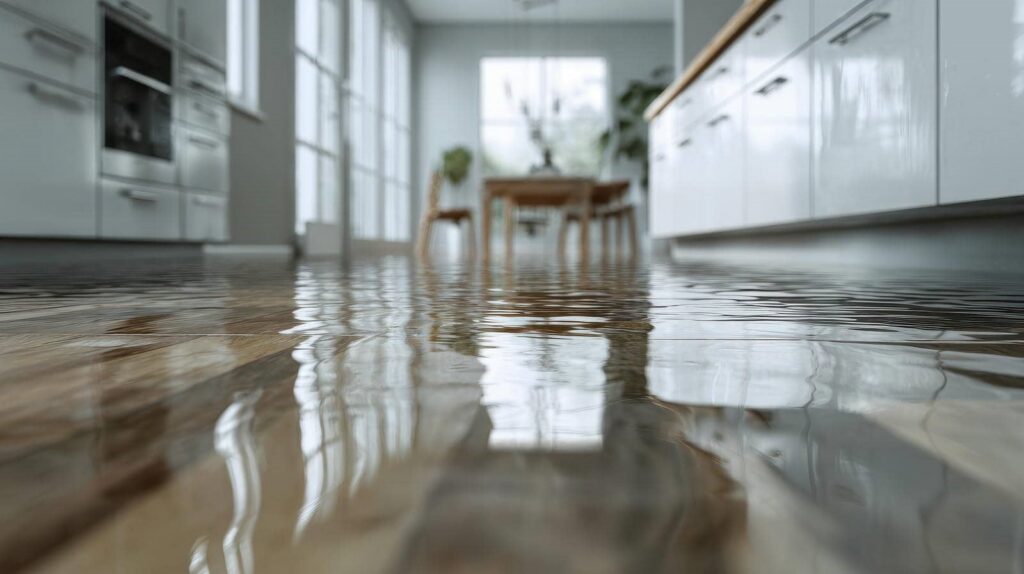
If a pipe bursts under your kitchen sink at midnight, you need to act fast: shut off the water, remove standing water with a wet/dry vacuum, then inspect walls, floors, and cabinets for hidden water damage. Dry the area with fans and a dehumidifier, clean surfaces with mild detergent, and sanitize hard materials to limit mold. The next steps determine whether you’re facing a simple cleanup or a larger repair.
Key Takeaways
- Shut off the water source immediately and use towels, buckets, or a temporary clamp to stop further leaking.
- Inspect pipes, walls, and floors for active leaks, staining, swelling, corrosion, and hidden moisture.
- Remove standing water quickly with a wet/dry vacuum or pump, and call a professional for large leaks.
- Dry the area thoroughly with fans, open windows, a dehumidifier, and by removing wet rugs or baseboards.
- Clean and sanitize damaged surfaces with mild detergent and approved disinfectant to reduce contamination and mold growth.
Stop the Leak and Shut Off Water
Start by stopping the leak and shutting off the water supply as quickly as possible.
Locate the nearest valve, turn it clockwise, and confirm the flow stops. If the pipe keeps spraying, use a wrench to tighten a loose fitting or apply a temporary clamp while you wait for repairs.
During leak detection, inspect nearby joints, appliance hoses, and ceiling drips so you can find the source fast. Keep towels, a bucket, and plumber’s tape ready as emergency measures.
If water reaches an electrical outlet, cut power to that area and stay clear. You’re not handling this alone; many homeowners face the same issue, and quick action protects your space.
Once the water stops, document the source and call a licensed plumber.
Assess Pipe, Wall, and Floor Damage
Inspect the pipe for active leaks, corrosion, cracked joints, and loose fittings that could keep feeding water into the area.
Check the wall and floor for staining, swelling, soft spots, warped materials, or buckling that show moisture has spread beyond the visible damage.
Mark every affected section so you can target repairs, drying, and material replacement accurately.
Inspect Pipe Leaks
Begin by tracing the leak to its source and checking how far the water has spread, because the pipe itself, nearby drywall, baseboards, subfloor, and flooring can all hide damage.
Use leak detection tools, then perform moisture assessment with a meter to confirm active seepage and residual dampness.
Tighten fittings, note corrosion, cracks, and warped joints, and shut off the water if pressure worsens the problem.
You’re not handling this alone; careful inspection helps you protect your home with confidence.
- Relief when the source finally shows itself
- Frustration when a hidden drip keeps returning
- Trust in precise readings over guesswork
- Stress easing as you document each wet spot
- Pride in taking control before repairs grow
Check Wall And Floor
Check the wall and floor carefully for swelling, staining, soft spots, and separation, because pipe leaks often spread beyond the visible source and weaken drywall, trim, subflooring, and finished flooring.
You should press along baseboards, tap drywall, and walk the floor to find flexing or spongy areas. Use a flashlight to inspect seams, corners, and the underside of cabinets for hidden moisture.
If you notice a musty odor, discoloration, or bubbling paint, document it and map the affected zone. Then start moisture control immediately with ventilation, dehumidifiers, and removal of wet materials.
Keep the area dry to limit mold growth and protect your home’s structure. When you check thoroughly, you’re not just fixing damage—you’re joining the group of owners who catch problems early and recover fast.
Remove Standing Water Quickly
Act fast to remove standing water before it spreads deeper into walls, flooring, and subflooring. Shut off the source, then use water removal techniques like a wet/dry vacuum, mop, or pump to clear puddles fast.
If the leak is large, treat it as emergency response and call a pro right away. Work room by room so you don’t miss hidden pockets near baseboards or under appliances.
Wear gloves and non-slip shoes to protect yourself while you move.
- You’ll feel more in control when water drops fast
- Your home’s structure stays safer
- You reduce that damp, stressful smell
- You protect your repair budget
- You help your household breathe easier
Dry Water-Damaged Walls and Floors
Once you’ve removed the standing water, dry the affected walls and floors as fast as possible to stop moisture from soaking deeper into drywall, trim, insulation, and subflooring.
Open windows if weather helps, then run fans to move air across wet surfaces and speed evaporation. Use a dehumidifier in the room to pull moisture from the air and support moisture control.
Lift baseboards and remove wet rugs or padding so trapped dampness can escape. If drywall feels soft or swollen, keep drying it until it stabilizes and no longer feels cool to the touch.
Check corners, seams, and under cabinets where water hides. Quick drying helps reduce mold growth and keeps your repair team on the same page from the start.
Clean and Sanitize the Affected Area
Scrub the affected surfaces with warm water and a mild detergent to remove dirt, residue, and any visible contamination left behind by the leak.
Rinse with clean water, then dry the area with fresh towels so moisture doesn’t linger.
Apply approved sanitation methods to hard, nonporous materials, following the label carefully for dwell time and ventilation. This step supports mold prevention by reducing the organic matter microbes need to grow.
- You can reclaim a clean, safe space
- You’re protecting the people who share it
- You’ll notice the area feel less heavy
- You’re reducing hidden risks with each pass
- You’re making your home feel whole again
Repair the Pipe and Prevent Future Damage
You should inspect the pipe for active leaks, corrosion, cracked fittings, and loose joints. Then shut off the water and replace damaged sections or seals as needed.
After the repair, pressure-test the line to confirm it holds without dripping or seeping at connections.
To reduce future damage, wrap exposed pipes with insulation and seal drafts in unheated spaces so condensation and freeze stress don’t recur.
Identify Pipe Leaks
Start by locating the exact source of the leak, since even a small drip can keep soaking framing, drywall, and flooring long after the visible water has dried.
Use leak detection tools, check joints, valves, and pipe runs, and document each wet spot.
Then perform a moisture assessment with a meter to confirm hidden saturation behind finishes.
If you find corrosion, split fittings, or pinhole damage, isolate the line and repair or replace the failed section before you close anything up.
- You protect your home’s structure.
- You stop mold from spreading.
- You save money on repeat repairs.
- You restore confidence in the space.
- You keep your crew, family, or tenants safe.
After the fix, recheck all areas for new dampness.
Add Preventive Insulation
Once you’ve repaired the damaged pipe, wrap exposed lines with the right insulation to reduce condensation, limit heat loss, and help prevent future leaks from freeze expansion or temperature swings.
Choose insulation materials sized to the pipe’s diameter, like foam sleeves for indoor runs and rubber or fiberglass for colder, damp spaces.
Clean the pipe first, then measure, cut, and seal each section tightly so gaps don’t invite moisture.
Use proper installation techniques at elbows, valves, and joints, where heat loss often starts.
If your system runs through unheated areas, add vapor barriers and secure the seams with tape rated for plumbing use.
You’re not just protecting metal or PVC; you’re helping your whole home stay safer, drier, and easier to maintain.
Frequently Asked Questions
How Do I Tell if Mold Has Started Growing?
You can spot mold by checking for musty odors, discoloration, and fuzzy growth on damp surfaces. Use mold identification techniques, inspect hidden areas, and act fast because health risks rise once spores spread.
Can I Clean Pipe Water Damage Myself Safely?
Yes, you can clean minor pipe water damage yourself, but don’t assume it’s always simple. Use DIY cleaning only after shutting off water, wearing PPE, and checking for hidden moisture; safety precautions matter.
When Should I Call a Professional Restoration Company?
Call a professional restoration company when water damage spreads beyond a small area, odors linger, or walls and floors stay wet. You’ll get a faster restoration process, prevent mold, and protect your home’s structure.
What Insurance Usually Covers Pipe Water Damage?
You’ll usually find your policy covers sudden pipe bursts, but coverage limits and policy exclusions govern payouts. Review dwelling, contents, and additional living expense coverage, since your insurer may’t honor gradual seepage or neglected maintenance.
How Long Does Hidden Water Damage Take to Appear?
Hidden water damage can appear within hours or take weeks, depending on materials and airflow. You should use water detection tools early, because your damage timeline often starts before stains, odors, or warping show up.
Wrap-Up
By now, you’ve stopped the leak, cleared the water, and dried the damaged surfaces, so the area should be on its way back to normal. Keep checking walls, floors, and corners for hidden moisture, because mold can move in like an uninvited guest. Sanitize hard surfaces, replace soaked materials, and repair the pipe completely. With careful follow-through, you’ll restore the space, protect your home, and prevent the same damage from returning.
Recent Posts
How to Clean Up Pipe Damage Fast
When a pipe breaks, you need to act fast to limit structural damage and mold
Why Hire Pipe Damage Cleanup Experts?
You need fast cleanup, careful cleanup, and expert cleanup when pipe damage hits your home.
What Pipe Cleanup Experts Do Nearby
When a sewer line backs up in your basement after a heavy rain, nearby pipe