
Contents
You may not realize that even a thin layer of standing water in a crawl space can start weakening wood and raising humidity within hours. You need the right removal method for the water volume, source, and contamination level, and the wrong choice can make drying slower. In the options ahead, you’ll see when pumps, vacuums, sump systems, and dehumidifiers do the job—and when they won’t.
Key Takeaways
- Act quickly to remove standing water to prevent structural damage, mold growth, and indoor air quality problems.
- Identify the water source first by checking plumbing leaks, drainage issues, foundation cracks, and damp soil or staining.
- Use pumps for large volumes and wet/dry vacuums for smaller amounts or leftover moisture.
- Improve drying with air movers, proper airflow placement, and dehumidifiers to reduce humidity and speed evaporation.
- Clean and disinfect affected surfaces after removal, then monitor moisture levels to prevent mold and musty odors.
Why Crawl Space Standing Water Needs Fast Removal
When standing water collects in your crawl space, you need to remove it fast because moisture can quickly damage wood framing, insulation, and floor systems, while also creating ideal conditions for mold, mildew, and pest activity.
You’re not just protecting materials; you’re reducing crawl space hazards that can spread through your home. Damp conditions raise health risks by supporting airborne spores, bacteria, and musty odors that affect indoor air quality.
Quick removal also helps you avoid warped subflooring, rusted fasteners, and insulation that can’t perform well. If you act promptly, you keep the space safer, drier, and easier to manage.
That gives you confidence and keeps your home feeling like the secure place it should be for everyone inside.
How to Find the Water Source
Before you pump out or dry the crawl space, you need to pinpoint where the water is coming from so you can fix the problem at its source. Start by tracing damp soil, staining, rust, or efflorescence on walls, piers, and joists.
Check plumbing lines, HVAC condensate drains, and sill plates for drips or mineral trails. Use water detection methods like a moisture meter, flashlight inspection, and tissue testing around seams, joints, and penetrations.
Follow leak identification techniques by looking for the highest wet point, then work downward to the entry path. Inspect exterior grading, gutters, downspouts, and foundation cracks after rain.
If you stay methodical, you’ll quickly separate surface runoff from plumbing leaks and know exactly which repair your crawl space family needs.
Use Pumps to Remove Standing Water
You’ll remove standing water faster if you choose a pump sized for the water depth and volume you’re handling.
Prime the pump correctly, place it on stable ground at the lowest point, and make sure the intake stays clear.
Route the discharge hose well away from the area so the water doesn’t flow back and build up again.
Choose Right Pump
For shallow flooding, a submersible utility pump or a wet/dry vac can move water quickly and safely, while deeper or faster inflows may call for a sump, trash, or gas-powered pump.
You should match pump types to the water depth, debris load, and power source available. Check pump capacity in gallons per minute, then choose a model that exceeds the amount you need to remove without overworking it.
If you’re dealing with clean water, a utility pump usually fits; for muddy or debris-filled water, pick a trash pump.
You’ll work more confidently when the equipment matches the job, and that shared know-how helps you act fast, protect the space, and stay in control together.
Prime and Position
Set the pump on stable ground and prime it if the model requires it, so the motor can move water without running dry. You’ll protect the pump and reduce water damage risk right away.
Keep the intake low enough to reach the deepest standing water, but not buried in silt or debris. Check hoses, cords, and fittings before you start, and keep them snug so the system runs smoothly.
If you’re working in a shared cleanup effort, communicate your setup clearly so everyone stays safe and confident.
Watch the pump during the first minutes to confirm steady flow and no air leaks. Good positioning supports moisture control, speeds removal, and helps you feel in control when the space needs quick, careful attention.
Direct Water Away
Once the pump is positioned and primed, route the discharge hose so water flows well away from the affected area, foundation, or low-lying spots that can flood again.
You’ll reduce backflow risk when you guide runoff to a safe outlet, such as a street drain, swale, or approved yard line. Keep the hose straight, secure, and free of kinks so the pump can move water efficiently.
If you need extra reach, join sections tightly and check each connection for leaks. Good water diversion protects your home and helps your crew stay focused and confident.
As the level drops, watch for settling water and adjust your drainage solutions before it spreads. You’re not tackling this alone; smart routing gives you control and peace of mind.
Use a Wet/Dry Vacuum for Small Puddles
For small puddles, attach the correct wet pickup nozzle so you can draw water in efficiently without spreading it.
Move the vacuum methodically to remove the remaining moisture, especially from seams and low spots.
Empty the tank frequently so suction stays strong and you don’t risk overflow.
Choose The Right Attachment
When you’re dealing with small puddles, a wet/dry vacuum can save time and reduce cleanup effort. To get the best results, match the tool to the surface and the amount of water.
For tight corners, use a crevice tool; for open floors, choose a wide floor nozzle. These attachment types help you control suction and reach water that lingers near edges or under fixtures. You’ll also notice clear attachment benefits: faster pickup, less splashing, and better contact with the floor.
If you’re working in a shared space, pick an attachment that feels easy to guide so everyone can help without frustration. Secure the fit before you start, and keep the nozzle moving steadily so you collect water cleanly and confidently.
Vacuum Remaining Moisture
With the right attachment in place, you can start pulling up the last thin layer of water left behind after mopping or sweeping.
Keep the wet/dry vacuum nozzle flat against the floor so you capture small puddles without pushing them around. Move slowly in overlapping passes, especially along grout lines, baseboards, and low spots where moisture hides.
If you’re using moisture detection, check the surface before and after each pass so you know when the area is truly dry. This step helps with humidity control by reducing evaporation inside the room and limiting that damp, heavy air.
You’ve got this—steady suction and careful coverage make the cleanup feel manageable, efficient, and professional.
Empty Tank Frequently
Check the vacuum tank often so it doesn’t fill up mid-cleanup and lose suction.
When you’re removing small puddles with a wet/dry vacuum, empty the water tank before it reaches the max line. That keeps airflow steady and helps you finish faster with less strain on the motor.
For frequent maintenance, rinse the tank after each use and clear the filter if it traps debris. You’ll protect performance and avoid musty buildup that can spread odors.
If you’re working with others, keep a bucket or drain nearby so everyone can swap and dump water quickly. This simple habit makes cleanup smoother, safer, and more efficient, and it helps you stay part of a crew that handles standing water the right way.
How Sump Pumps Remove Crawl Space Water
A sump pump collects water that accumulates in a crawl space and moves it out before it can pool, saturate insulation, or damage structural materials.
You place it in a low point so incoming water flows into the basin, then a float switch tells the motor to start. The pump pushes water through a discharge line and away from your foundation, helping you stay ahead of damp conditions.
Different sump pump types fit different crawl spaces, so you can choose one that matches your layout and water load.
With regular crawl space maintenance, you keep the basin clear, the switch responsive, and the system ready for the next storm.
That’s how you protect your home and join other owners who manage moisture with confidence.
Dry the Crawl Space With Air Movers
You can speed crawl space drying by placing air movers to push air across damp surfaces and through low-clearance areas.
This targeted airflow boosts moisture evaporation, helping remaining water disappear faster after sump pump removal.
It also lowers the chance of mold growth by reducing the humidity that lingers in enclosed spaces.
Airflow Placement Strategy
Once the standing water is gone, place air movers to create a steady crossflow across the crawl space so moisture evaporates from the subfloor, joists, and insulation.
You’ll get better results when you study airflow dynamics before you plug anything in. Aim each unit along open runs, not directly at walls, and stagger them so each fan pushes air toward the next.
Keep vents and access points aligned with your ventilation techniques, because balanced intake and exhaust help prevent dead zones.
If your crawl space has piers or tight corners, position smaller movers there to keep the flow even.
You’re not just drying a space; you’re protecting the structure with a plan your crew can trust.
Moisture Evaporation Boost
To speed evaporation in a crawl space, keep the air movers running long enough to pull moisture off the subfloor, joists, and insulation without over-saturating the air. You’re using a simple but effective moisture control method: move dry air across damp surfaces so water can leave the materials faster.
Aim the stream along open runs and under floor bays, then check for cool, clammy spots that need another pass. Good evaporation techniques work best when you keep pathways clear and let the fans cycle until surfaces feel dry to the touch.
In your team, this step helps everyone stay ahead of lingering dampness and keeps the job moving with confidence. Monitor conditions regularly, because consistent airflow makes the crawl space dry-down more predictable and efficient.
Mold Growth Prevention
As the crawl space dries, keep air movers running to reduce the damp conditions mold needs to take hold. You’ll want steady airflow across joists, insulation, and the soil surface so hidden pockets can’t stay wet.
Check moisture levels with a meter; when readings drop and stay stable, you know the space is moving toward safe dryness. This step helps stop mold spores from settling and spreading after standing water removal.
If you’re part of a cleanup team, stay consistent and inspect corners, vents, and around pipes where air can stall. Pair the fans with dehumidification when needed, and keep access points open for circulation.
You’re not just drying a space—you’re protecting your home, your crew, and your peace of mind.
Use Dehumidifiers to Dry the Crawl Space
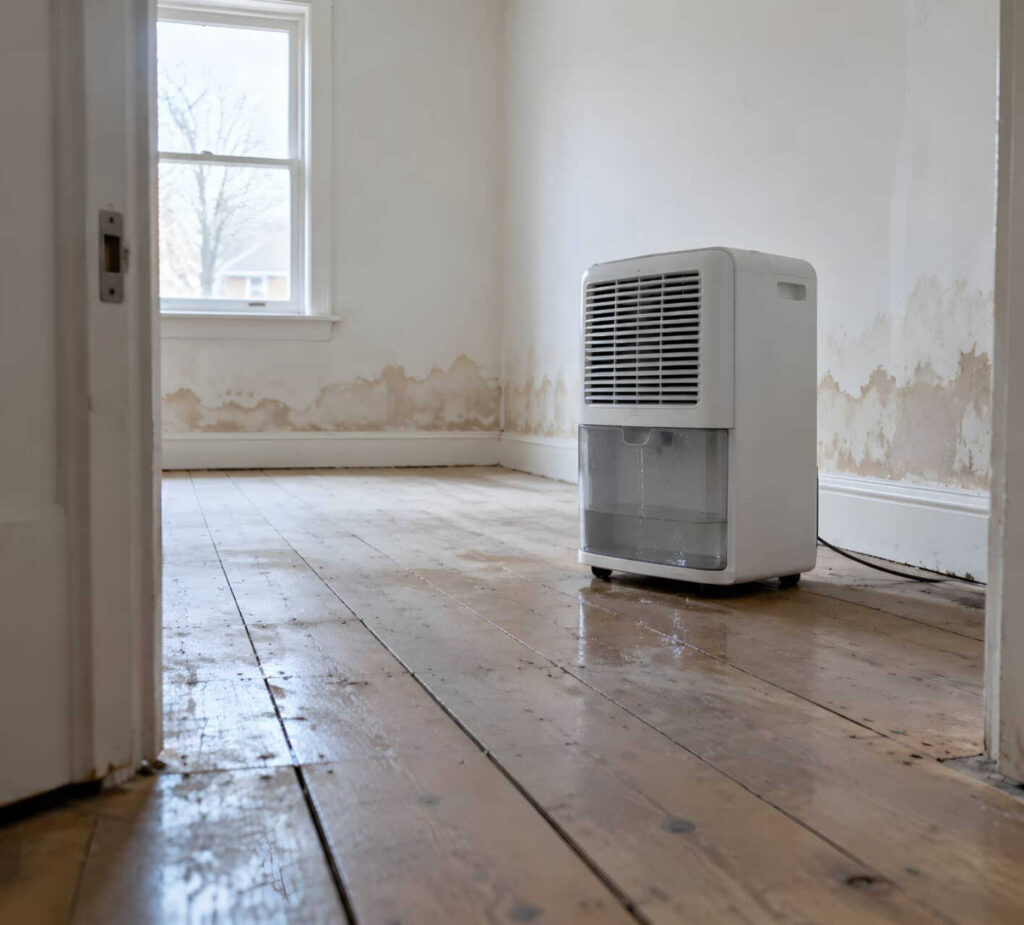
Run a dehumidifier in the crawl space after you’ve removed standing water to pull excess moisture out of the air and dry damp framing, insulation, and soil surfaces.
Choose from dehumidifier types sized for crawl spaces, such as portable or whole-house units, and place the unit where air can circulate freely. For strong moisture control, seal vents if your building plan allows, close access points, and set the humidity target near 60%.
Check the drain hose or reservoir regularly so the unit keeps running without interruption. You’re not alone in this process; steady drying protects the structure and helps you regain a stable, healthier space.
Monitor humidity with a hygrometer and keep the dehumidifier operating until readings stay consistent for several days.
How to Clean Up Sewage Safely
Before you start cleaning, shut off the affected area and put on protective gear, including waterproof gloves, boots, eye protection, and an N95 or respirator if sewage is present.
Remove standing waste with disposable tools, then bag all debris in heavy-duty plastic and seal it tightly.
Wash hard surfaces with hot water and a detergent, then apply a disinfectant labeled for sewage safety, following the contact time exactly.
Keep children and pets out until you finish.
If porous materials, such as carpet or insulation, were soaked, discard them to reduce contamination risks.
Ventilate the space with fans only after you’ve removed visible waste.
Work steadily, take breaks, and remember you’re not handling this alone—these steps help your crew protect your home and restore it safely.
Prevent Mold Growth After Water Removal
Once the standing water is gone, you need to dry the area fast to stop mold before it starts. Run fans, open vents, and use a dehumidifier to keep airflow moving across floors, walls, and hidden corners.
Check carpet pads, insulation, and baseboards, because trapped moisture feeds spores. Aim for steady humidity control below 60% so surfaces dry completely.
Wipe hard surfaces with a detergent solution, then dry them again. Remove wet cardboard, fabric, and debris that can hold water.
These mold prevention tips help you protect your space and keep your crew’s effort from going to waste. Stay consistent for several days, and inspect daily for musty odors or damp spots.
That simple routine helps you recover with confidence.
When to Call a Crawl Space Water Damage Professional
If moisture keeps coming back after drying, it’s time to bring in a crawl space water damage professional. You’ll get a focused water damage assessment that finds hidden leaks, high humidity, and saturated insulation before they spread.
- Standing water returns after pumps or fans run
- Wood feels soft, warped, or musty
- Mold, pests, or rust keep appearing
- Your crawl space inspections show lingering dampness
A professional can test moisture levels, check drainage, and recommend repairs that fit your home.
You don’t have to manage this alone; you’re part of a community of homeowners who protect their foundations early.
With the right help, you can restore dry conditions, reduce health risks, and feel confident that the problem’s handled correctly.
Frequently Asked Questions
How Often Should Crawl Space Water Be Inspected?
You should inspect crawl space water monthly, and after heavy rain, to support crawl space maintenance and water damage prevention. You’ll protect your home, spot issues early, and feel confident your space stays dry.
Can Standing Water Damage Floor Joists?
Yes, standing water can damage floor joists, causing water damage and weakening structural integrity. You’ll want to dry the area quickly, inspect for decay or mold, and address leaks so your home stays safe and supported.
What Tools Detect Hidden Moisture in Insulation?
You can detect hidden moisture in insulation with moisture meters and thermal imaging. You’ll identify damp spots fast, check problem areas safely, and feel confident you’re protecting your space and the people who count on it.
Are Insurance Claims Covered for Crawl Space Flooding?
Usually, yes—if your policy covers flood insurance, you can file a claim process for crawl space flooding. Why worry alone? You’ll inspect damage, document everything, and work with your adjuster to secure support.
How Long Does Crawl Space Drying Usually Take?
Usually, you’ll need 1–5 days for crawl space drying, depending on moisture levels and airflow. You can speed it up with crawl space ventilation, a moisture barrier, and dehumidification, while staying confident and supported.
Wrap-Up
You’ve got to act fast when standing water shows up in your crawl space. Find the source, pump out the water, vacuum the remaining puddles, and keep air moving so the area dries like a well-tuned machine. Use dehumidifiers, clean carefully, and watch for mold or sewage risks. If the damage is heavy or the problem keeps coming back, call a crawl space water damage professional before small trouble turns into a costly disaster.
Recent Posts
Why Immediate Water Removal Prevents Damage
Water pooling under your floors can turn a small sewage overflow into a costly repair
10 Tips for Toilet Overflow Cleanup
A toilet overflow can escalate fast, so you need to act before water reaches flooring,
10 Best Water Overflow Cleanup Solutions
When you face a water overflow, you need to act fast and in the right