
Contents
When you face overflow water damage, you need to move fast and inspect methodically. First, shut off the toilet supply and clear standing water, then check floors, baseboards, and drywall for swelling or staining. Don’t stop there; hidden moisture can spread into subfloors and crawl spaces, and sewage contamination changes the risk. The right tests and photos can make the difference.
Key Takeaways
- Shut off the water supply immediately and stop the overflow before inspecting any damage.
- Check floors, baseboards, and drywall for warping, staining, bubbling paint, or soft spots.
- Inspect subfloors and crawl spaces for trapped water, swollen panels, and wet insulation.
- Use a moisture meter and look for musty odors or mold to find hidden water damage.
- Photograph all affected areas with timestamps and notes before starting cleanup for insurance records.
Toilet Overflow Cleanup: Stop the Source First
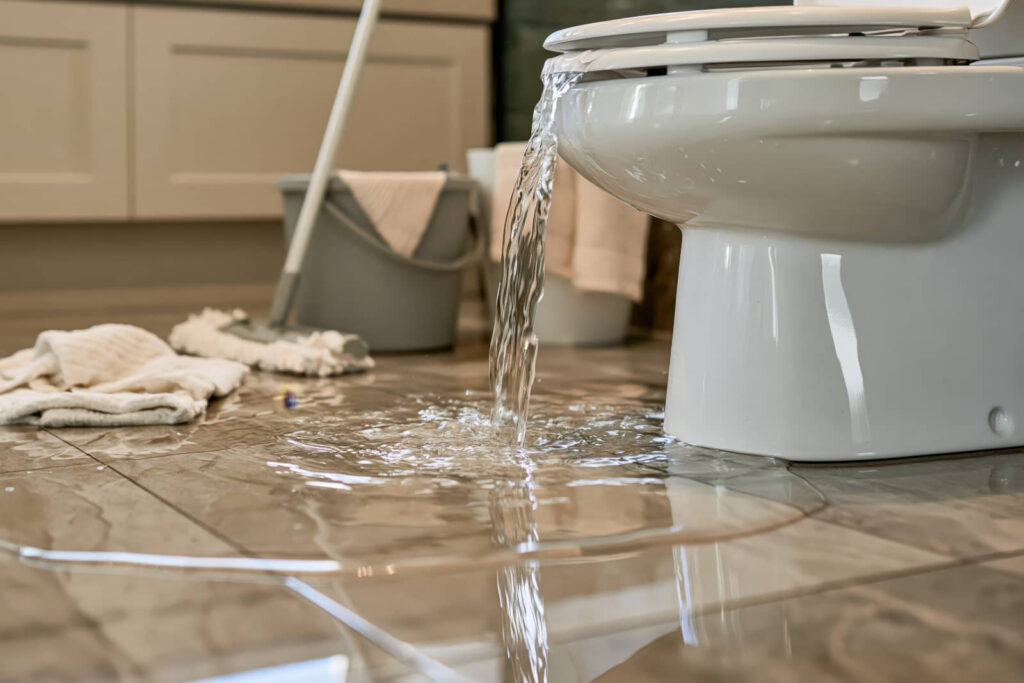
Before you clean up a toilet overflow, stop the source immediately by shutting off the toilet’s water supply valve or lifting the tank float to prevent more water from entering the bowl.
Then flush once only if needed to clear standing water, and don’t let the tank refill.
Put on gloves, keep the area controlled, and work methodically so you stay in command of the mess.
If the overflow came from a clog, use a plunger or auger before restarting normal use.
During toilet maintenance, check the flapper, fill valve, and supply line for leaks that can trigger repeat spills.
If the overflow seems tied to deeper plumbing issues, document what you see and arrange professional help fast.
Acting quickly protects your space and helps you handle the problem like part of the team.
Inspect Floors, Baseboards, and Drywall
As you inspect the area, check floors, baseboards, and drywall for warping, discoloration, soft spots, and any sign of swelling at seams or edges.
Compare adjacent flooring materials for lifted joints, cupping, or buckling, and note where finishes feel loose underfoot.
Run your hand along baseboards for separation, staining, or a hollow sound that suggests moisture damage.
For drywall integrity, look for bubbling paint, cracked tape, or crumbling corners near the floor line.
Mark every affected section and photograph it before cleanup starts.
If you belong to a team, share clear observations so everyone can track damage consistently.
Use a moisture meter if you have one, but trust visible distortion as a warning.
Quick, careful documentation helps you act with confidence and keep repairs targeted.
Check for Water in Subfloors and Crawl Spaces
After you’ve checked visible finishes, move below them and inspect subfloors and crawl spaces for trapped water, wet insulation, and structural damage.
You should use a flashlight to trace dark spots, swollen panels, and rusted fasteners. Press along joists and sheathing to find soft areas that signal saturation.
If water pools on soil or vapor line, improve drainage solutions and verify that downspouts, grading, and sump discharge move runoff away from the foundation.
Check that moisture barriers remain intact and lapped correctly over the ground cover. You’ll protect the home’s structure and help your crew stay aligned on the next repair steps.
Document standing water, sagging supports, and access limits so you can plan drying, reinforcement, and cleanup without missing hidden damage.
Test for Moisture, Mold, and Sewage
Use a moisture meter and infrared camera to confirm hidden wet areas in walls, floors, and framing, and record elevated readings for follow-up drying or demolition.
Then verify surface and cavity moisture with moisture detectors at baseboards, trim, and insulation edges.
Check for musty odor, staining, and visible growth; if you find any, isolate the area and plan mold remediation before occupants return.
If overflow involved a toilet, drain, or sewer line, treat the material as contaminated and test for sewage residue on porous finishes.
Wear gloves, a respirator, and eye protection, and keep your team aligned on exposure limits.
Document wet, suspect, and clean zones in your notes so everyone works from the same map and you don’t miss a hidden source.
Take Photos for Insurance
Documentation is your claim file in progress, so photograph the overflow damage before cleanup starts. You’ll strengthen insurance claims when you capture clear, timestamped damage documentation from multiple angles.
Use a phone or camera set to high resolution, and keep each shot steady and well lit. Include context so adjusters can verify scope and cause.
- Photograph the full room, then each affected wall, floor, and ceiling area.
- Take close-ups of standing water, stains, warped materials, and damaged contents.
- Capture labels, serial numbers, and serial numbers on equipment or appliances.
- Save images in order, back them up, and note the date, time, and location.
You’re not just recording loss; you’re building a record your team can trust during recovery.
Frequently Asked Questions
How Soon Should I Call a Professional After an Overflow?
Call a professional immediately after an overflow, ideally within hours; your overflow timing matters because moisture spreads fast. An immediate response helps you protect your home, reduce damage, and feel confident you’re handling it right.
Can Overflow Water Damage Affect Electrical Outlets?
Yes—like a shortcut sparking trouble, overflow water damage can affect electrical outlets. You should cut power, avoid touching wet receptacles, and check outlet safety after any water exposure. Call a licensed electrician promptly.
Should I Inspect Insulation After a Water Overflow?
Yes—you should inspect insulation after an overflow. Check insulation types for saturation, compaction, and contamination, then use moisture detection to verify hidden dampness. You’ll protect your space, reduce mold risk, and guide safe replacement.
How Long Does It Take for Hidden Damage to Appear?
Hidden damage can appear within 24–72 hours, and hidden moisture may trigger long term effects fast. Don’t let things slip through the cracks: you’ll need prompt inspection, because you’re part of the solution.
Does Homeowner’s Insurance Cover Overflow-Related Mold?
Usually, you’re covered if the overflow was sudden and accidental, but not for neglected moisture. Act fast, document damage, file insurance claims, and support mold prevention by drying materials within 24 to 48 hours.
Review
You can’t afford to treat an overflow lightly: EPA estimates indoor moisture problems affect about 1 in 4 U.S. homes. After you stop the source, inspect visible materials, probe subfloors, and check for moisture and mold so you catch hidden damage early. If you find sewage contamination or structural warping, call a qualified restoration pro right away. Finally, take timestamped photos from wide and close angles so you’ve got solid insurance documentation.
Recent Posts
3 Tips for Sewage Backup Water Damage Repair
When sewage backs up, you need to stop the flow fast, shut off the affected
Emergency Sewage Cleanup: How-To Guide
Sewage cleanup is both a routine task and a biohazard emergency. You need to stop
What Is Emergency Sewage Backup Cleanup?
If you’re dealing with an emergency sewage backup, you’re facing more than a mess—you’re confronting