
Contents
When you inspect toilet overflow water damage, you need to move fast and check the right areas in order. You’ll start with the toilet source, supply line, and visible pooling, then work through floors, walls, and baseboards for moisture intrusion. Hidden water, sewage contamination, and structural damage can stay out of sight long after the spill stops. The next few checks can determine whether you’re facing a simple cleanup or a larger repair.
Key Takeaways
- Shut off the toilet’s supply valve immediately to stop flooding and reduce further water damage.
- Inspect the bowl, tank, base, floor, and nearby walls for cracks, standing water, staining, or softness.
- Check the wax ring, supply line, and fittings for seepage, corrosion, kinks, or active leaks.
- Use moisture tools to detect hidden water in subfloors, baseboards, crawl spaces, and wall cavities.
- Document all damage and odors for cleanup and insurance, and call a plumber for sewage or severe leaks.
What to Check After a Toilet Overflow
After you stop the overflow, you should inspect the toilet and surrounding area immediately to find the source of the problem and assess any damage.
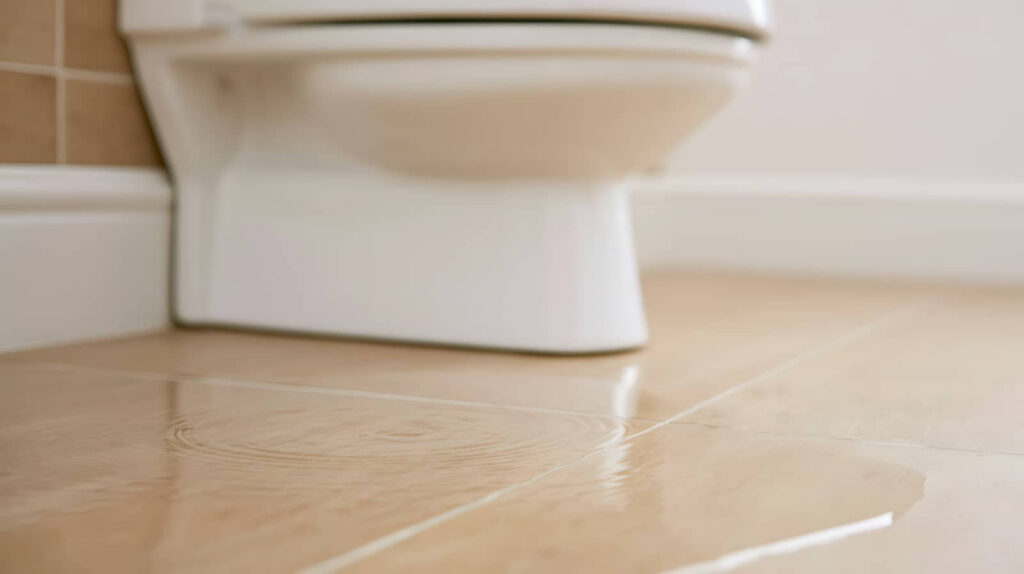
Check the bowl, tank, base, and floor for standing water, staining, or cracks. Feel the subfloor and nearby trim for softness, swelling, or hidden moisture.
Look at the wax ring area for seepage and note any odor that suggests trapped water. Verify that towels, rugs, and adjacent fixtures stayed dry enough to avoid spreading contamination.
If water reached drywall or cabinets, document the extent right away for water damage prevention.
These toilet maintenance tips help you protect your space, keep your household on track, and know when you need professional drying or repair before the issue worsens.
Check the Toilet Source and Supply Line
Start by isolating where the overflow originated so you can target the correct repair. Shut off the water at the stop valve, then inspect the toilet components for cracks, loose fittings, or a warped tank-to-bowl seal.
Check the supply line for corrosion, kinks, abrasion, or active seepage at both ends. If the line feels brittle or the ferrules look damaged, replace it instead of tightening harder.
Reopen the valve slowly and watch for drips while the tank refills. Listen for hissing, which can signal pressure loss or a worn fill valve. Confirm the shutoff valve turns fully and doesn’t weep after closure.
When you verify the source, you protect your home and stay aligned with others who handle overflow repairs methodically and confidently.
Inspect Floors, Walls, and Baseboards
With the toilet source controlled, inspect the surrounding floors, walls, and baseboards for moisture damage, staining, swelling, or soft spots.
You should verify each surface under strong light and note any discoloration, warping, or paint bubbling.
On tile, laminate, vinyl, or wood floor materials, press gently with your shoe or hand to confirm firmness.
Use moisture detection tools on suspect areas, especially at seams, edges, and trim joints where water often lingers.
Check baseboards for separation from the wall, and look for a musty odor that signals lingering dampness.
If you see active seepage, stop and document it.
You’re not just checking damage; you’re protecting your home’s structure and keeping your space safe, clean, and ready for the next repair step.
Find Hidden Water in Subfloors and Crawl Spaces
Even when the visible area looks dry, you need to check the subfloor and any crawl spaces for hidden water that can keep spreading damage after a toilet overflow.
Remove access panels or a floor vent, then inspect joists, sheathing, and insulation for dampness, swelling, or discoloration. Use moisture detection tools to measure elevated readings in wood and framing, especially near seams, fasteners, and pipe penetrations.
In crawl spaces, look for soft spots, condensation, and pooled water under the vapor barrier. Trace hidden leaks along plumbing lines and around the toilet flange to confirm the source.
If the subfloor feels spongy or the meter stays high, keep the area ventilated and dry it promptly. You’re protecting the structure and helping your home stay safe and sound.
Look for Sewage Contamination and Odors
You should inspect all affected surfaces for sewage stains, discoloration, and residue, since these marks can indicate direct contamination from the overflow.
You should trace any persistent odor to its source by checking drains, baseboards, wall cavities, and adjacent flooring, because odor often reveals hidden contamination.
You should then define the full contamination area so you can isolate damaged materials, verify cleanup scope, and prevent further exposure.
Sewage Stain Detection
Sewage stain detection starts with a careful visual and sensory check around the toilet base, floor seams, nearby drywall, and any exposed subfloor for dark discoloration, yellow-brown residue, or damp patches that indicate contaminated overflow.
You should also inspect caulk lines, trim edges, and fastener penetrations where moisture can wick and leave a defined stain perimeter. If you see irregular staining, mark the boundaries immediately to support sewage safety and accurate stain remediation.
Use a bright light at a low angle to reveal tide marks, shadowing, and absorbed contamination in porous materials. Wear gloves and avoid direct contact with affected surfaces.
When you document each stain, note color, texture, and spread pattern so you can trace the cleanup scope with confidence.
Odor Source Identification
After checking visible staining, shift to odor source identification by tracing where sewage contamination and smells are strongest, since odor often reveals hidden overflow paths that stains alone won’t show.
You should move methodically from the toilet base, nearby joints, and floor penetrations to adjoining trim and wall cavities, using odor detection to map the plume. Sniff at low and high points, because volatile compounds can collect in trapped air spaces.
Pair your findings with moisture analysis to confirm whether damp materials are sustaining the smell. If the odor intensifies near porous surfaces, note that as a likely retention point.
Keep your inspection disciplined and consistent so you can separate surface odor from concealed contamination. That approach helps you and your team work with confidence and stay aligned on the real source.
Contamination Area Assessment
A contamination-area assessment should start by mapping every surface, seam, and cavity where sewage may have spread, then checking each point for odor, discoloration, and residue.
You’ll inspect baseboards, subfloor edges, wall voids, and fixture surrounds for dampness and staining that signal contamination beyond the visible spill. Use your nose carefully; persistent sewage odor often means porous materials have absorbed waste.
Mark every affected zone so you can separate clean areas from contaminated ones and prevent cross-contact during water extraction.
Evaluate drywall, insulation, and flooring for softening, swelling, or slime, because these conditions can support mold growth. If you find seepage under trim or behind cabinets, expand the inspection immediately.
You’ll make better cleanup decisions when you document the full spread before drying, removal, and disinfection.
Document the Damage for Repairs
Once the water is contained and the area is safe, document every visible sign of damage for the repair process. You’ll help your team stay aligned by creating clear damage documentation that supports accurate repair estimates and speeds decisions.
Use your phone or camera to capture wide shots and close-ups, then note dates, affected materials, and moisture lines. Keep your records organized and consistent.
- Photograph floors, walls, trim, and fixtures.
- Record standing water, staining, swelling, and odor sources.
- Measure affected zones and mark boundaries.
- Save receipts, notes, and any cleanup logs.
When you track details precisely, you make it easier for everyone involved to compare conditions, confirm scope, and move forward with confidence.
When to Call a Toilet Water Damage Pro
Call a toilet water damage pro when the overflow affects more than a small, clean water spill or when you can’t verify that the source is fully contained.
You should also call for help if water reached baseboards, subflooring, or nearby rooms, or if you notice sewage odor, discoloration, or soft flooring.
A licensed specialist can measure moisture, identify hidden saturation, and prevent microbial growth with targeted drying and sanitation.
If the toilet keeps backing up, follow emergency plumbing advice and shut off the supply valve immediately.
Use these toilet maintenance tips only as a short-term control, not a fix: avoid flushing wipes, inspect the flapper, and check the fill valve.
When you act early, you protect your home and join the group of owners who handle damage decisively.
Frequently Asked Questions
How Soon Should Mold Be Checked After Overflow?
You should check for mold within 24 to 48 hours after overflow, because mold growth can begin fast. Your inspection timeline should include drying, moisture mapping, and a professional assessment to protect your space.
Can Toilet Water Damage Affect Electrical Outlets?
Yes—like water finding a hidden path, a toilet overflow can reach outlets, creating electrical hazards. You should shut off power, avoid contact, and have a licensed electrician inspect wiring, receptacles, and any moisture intrusion quickly.
What Insurance Usually Covers Toilet Overflow Repairs?
You’ll usually rely on homeowner’s insurance for sudden toilet overflow repairs, including resulting water damage; toilet insurance endorsements can help. You should document damage claims quickly, since insurers often exclude gradual leaks or neglected maintenance.
How Long Does Drying Typically Take After Cleanup?
You’ll usually dry it in 24–72 hours, though hidden moisture can linger. You’ll need targeted drying methods and moisture detection to verify structural dryness, so you’re not left in the damp afterglow.
Should Carpet Be Replaced After Sewage Exposure?
Yes, you should replace carpet after sewage exposure if contamination soaked the pad or backing; carpet cleaning alone won’t remove health risks. You’ll protect your home and community by removing affected materials and disinfecting thoroughly.
Review
When you inspect after a toilet overflow, you’re not just checking for water—you’re reading the signs it leaves behind. Every stain, soft spot, and odor is a warning light, signaling damage beneath the surface. If you catch leaks early, you can stop hidden moisture from turning into a deeper problem. Trust your tools, document what you find, and call a professional when the evidence points beyond what you can safely handle.
Recent Posts
7 Tips for Home Water Damage Assessment
Could a quick visual check reveal water damage before it spreads? Water damage assessment starts
7 Home Water Damage Assessment Tips
Could a quick visual check reveal water damage before it spreads? Water damage assessment starts
10 Best Home Water Damage Assessment Tips
If you suspect water damage, you need to move quickly and assess it methodically. Home