
Contents
You may not realize that a sewage overflow can keep releasing contamination even after visible water stops moving. You need to shut off the source, verify electrical safety, and remove standing water fast. Then you can clean, disinfect, and dry affected materials before you assess structural damage. The final step is prevention, and that’s where most repair plans fail unless you act on the right measures.
Key Takeaways
- Shut off the nearest water source immediately to stop sewage overflow and prevent further contamination.
- Check for electrical hazards, unstable flooring, exposed wiring, and other safety risks before entering the area.
- Remove standing sewage water quickly using a pump, wet vacuum, or extraction unit, working from the lowest point.
- Clean and disinfect all affected surfaces with sewage-safe detergent and disinfectant, then dry them completely.
- Prevent future backups with routine plumbing maintenance, backwater valves, sewer alarms, and proper waste disposal.
Stop the Overflow
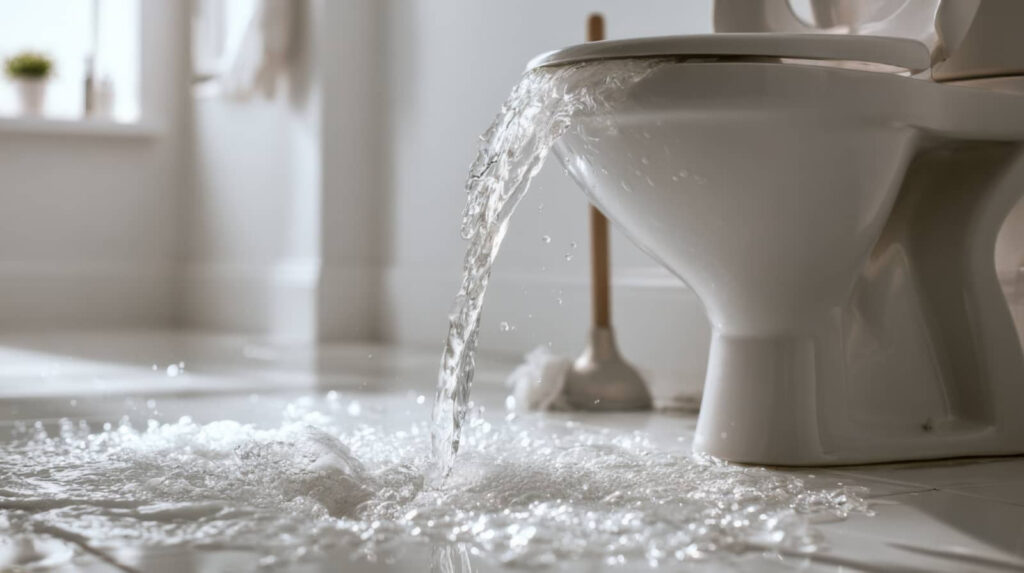
If sewage is actively overflowing, you need to stop the source immediately to limit contamination and structural damage.
Shut off the nearest upstream valve, fixture, or main line if you can do so without delay. If the backup continues, call your utility or a licensed plumber for emergency response and document the source for later repair.
You should isolate affected plumbing zones to support overflow prevention and prevent repeat discharge. Don’t run water in sinks, tubs, or toilets connected to the line until the system is secured.
If you’re working with a restoration team, follow their instructions so everyone stays coordinated and informed.
Check for Safety Hazards
Once the source is under control, inspect the area for immediate safety hazards before anyone reenters. You should apply hazard identification with a methodical scan of floors, walls, outlets, and structural components.
If you notice electrical exposure, gas odor, or unstable materials, trigger emergency response and keep others out.
- Verify power is isolated at the breaker.
- Confirm the floor supports safe footing and no sharp debris remains.
- Check for exposed wiring, damaged fixtures, and compromised drywall.
- Look for airborne contamination indicators and seal off affected zones.
You help protect your team when you document each risk clearly and share it fast.
This step builds confidence, supports coordinated cleanup, and keeps the site aligned with professional recovery standards.
Remove Standing Water
Begin water removal immediately with a submersible pump, wet vacuum, or truck-mounted extraction unit sized for the affected volume.
You should work from the lowest point first, then move systematically across the space to reduce standing water hazards and limit migration into wall cavities.
Use proven water removal techniques, such as overlapping extraction passes and tight nozzle control, to maximize recovery without stirring debris.
Keep discharge hoses routed to a safe outlet and monitor flow to avoid backups.
If water keeps returning, pause and identify the source before continuing.
Your team belongs in a disciplined response, so document depth changes and progress as you extract.
Remove all visible liquid until surfaces are only damp, not pooled, and prepare the area for the next restoration step.
Clean and Disinfect Surfaces
After you remove standing water, you should scrub all affected surfaces with detergent and clean water to lift residual sewage film and debris.
Next, apply a disinfectant labeled for sewage contamination at the correct dilution and contact time, following the product’s safety instructions.
Once you’ve sanitized the area, dry all surfaces completely to limit microbial growth and confirm the space is ready for further restoration.
Surface Cleaning Steps
If sewage has reached hard surfaces, you need to clean and disinfect them promptly to reduce contamination and odor. You’ll protect your space by matching cleaning techniques to the surface materials and removing visible residue before any final rinse.
Work methodically so you and your team stay aligned and efficient.
- Wear protective gear and ventilate the area.
- Remove solids with disposable tools and seal waste.
- Wash surfaces with detergent and clean water.
- Dry completely, then inspect for remaining soil.
Use separate cloths for each zone to avoid cross-contamination, and replace them when they’re saturated.
Focus on seams, edges, and textured finishes, where debris collects. After cleaning, verify that the surface feels smooth, looks uniform, and no longer carries persistent odor.
Safe Disinfectant Use
Once the surface is visibly clean, you can apply a disinfectant that’s approved for sewage contamination and follow the label’s contact time exactly.
Choose disinfectant types that match the material: bleach solutions, quaternary ammonium products, or other EPA-registered formulas. You’ll protect your space best when you mix only as directed and never combine chemicals.
Use application techniques that keep the surface evenly wet, such as low-pressure spray or saturated wiping, and work from the cleanest area toward the dirtiest.
Keep people and pets out of the area during treatment, and wear gloves, eye protection, and a respirator if the label requires it.
Careful disinfection helps your team restore a safe, professional environment and supports a healthier return.
Drying And Sanitizing
Begin drying immediately to reduce microbial growth and limit secondary damage, then sanitize all nonporous surfaces with a sewage-approved cleaner before they fully dry.
You’ll protect your team and your space by pairing moisture control with targeted disinfection. Use high-velocity fans, dehumidifiers, and open pathways to pull hidden water from walls, floors, and trim.
Wear PPE, test damp materials, and remove saturated porous items that can’t be restored. Follow with odor removal steps, including enzymatic treatment and ventilation, so the area feels safe again.
- Measure humidity and surface moisture.
- Clean from cleanest to dirtiest zones.
- Rinse only when labels require it.
- Reinspect for staining, residue, and odors.
Dry the Area Quickly
Move fast to remove moisture and stop further damage. You should open windows, run exhaust fans, and set up strong ventilation techniques to keep air moving across wet surfaces.
Place a dehumidifier in the affected room and monitor dehumidifier usage so it pulls humidity down steadily. Remove soaked rugs, mats, and movable furnishings so hidden moisture can’t linger underneath.
Aim airflow at floors, baseboards, and wall cavities with fans positioned for cross-ventilation. Check that electrical equipment stays dry and safely elevated.
Keep the space closed off from clean areas so your team stays protected and the drying zone works efficiently. Track humidity and surface dampness until materials feel dry to the touch and ambient moisture drops to a stable level.
Assess and Repair Water Damage
Inspect the affected materials for structural and sanitary damage, then document what can be cleaned, repaired, or replaced. You’ll help your team restore the space faster when you record each loss clearly for insurance claims and track any signs of mold growth.
Use this process:
- Remove unsalvageable drywall, insulation, and porous flooring.
- Clean and disinfect remaining surfaces with approved solutions.
- Repair framing, subflooring, and fixtures that stayed sound.
- Replace contaminated finishes and verify moisture readings before closing walls.
You deserve a safe, professional result, and careful assessment keeps your property aligned with health standards.
Prevent Future Overflows
Once you’ve restored the damaged areas, focus on the conditions that caused the overflow so it doesn’t happen again.
You should schedule routine plumbing maintenance to inspect traps, vents, cleanouts, and main lines for buildup, corrosion, or root intrusion. Use a licensed technician to test drains, verify slope, and confirm that backflow valves seal correctly.
In your overflow prevention plan, keep grease, wipes, and hygiene products out of the system, and educate everyone in your household or facility on proper disposal.
Install sewer alarms or backwater prevention devices where risk is high. After heavy rain, check sump pumps and exterior drainage so runoff doesn’t enter the line.
These steps help you protect your property, reduce emergency calls, and stay part of a prepared, reliable community.
Frequently Asked Questions
What Insurance Typically Covers Sewage Overflow Repairs?
You typically get coverage through homeowners or renters insurance, but only if your policy includes sewer backup endorsement; check coverage limits and policy exclusions, because standard policies often exclude sewage overflow repairs.
How Long Does Sewage Damage Restoration Usually Take?
You’ll usually need three to ten days for sewage damage restoration, depending on contamination, drying, and repairs. Your sewage cleanup timelines vary, but the restoration process often extends if flooring, drywall, or structural materials need replacement.
When Should a Professional Remediation Company Be Called?
You should call a professional remediation company immediately after sewage exposure, structural damage, or persistent contamination appears—don’t wait. Their emergency response protects your space, and their sewage prevention tips help you feel secure, informed, and included.
Can Sewage-Contaminated Belongings Be Salvaged Safely?
Yes, you can sometimes salvage contaminated belongings, but you’ll need strict safety precautions and professional salvage techniques. You should discard porous items, disinfect hard surfaces, and avoid risking exposure to pathogens during cleanup.
How Much Does Sewage Overflow Water Damage Repair Cost?
You’ll usually pay $2,000–$10,000, depending on repair factors. As the saying goes, a stitch in time saves nine. Your cost breakdown includes extraction, sanitation, demolition, drying, and restoration; you’ll want prompt, expert help.
Conclusion
You can restore your space by acting quickly and methodically. First, stop the overflow and check for hidden hazards. Then remove standing water, clean and disinfect affected surfaces, and dry the area without delay. Next, assess structural damage and make needed repairs. Finally, reduce the chance of another unpleasant incident with preventive maintenance and backflow safeguards. With careful, professional steps, you’ll protect your property and keep your environment safe, sanitary, and ready for use.
Recent Posts
3 Tips for Sewage Backup Water Damage Repair
When sewage backs up, you need to stop the flow fast, shut off the affected
Emergency Sewage Cleanup: How-To Guide
Sewage cleanup is both a routine task and a biohazard emergency. You need to stop
What Is Emergency Sewage Backup Cleanup?
If you’re dealing with an emergency sewage backup, you’re facing more than a mess—you’re confronting