
Contents
When a pipe breaks, you need to act fast to limit structural damage and mold growth. Pipe Damage starts with shutting off the main water supply, locating the source, and removing standing water right away. Then pull out soaked materials, set up drying equipment, and sanitize all affected surfaces. The tricky part is spotting hidden moisture before it turns into a bigger repair.
Key Takeaways
- Shut off the main water supply immediately and stop the leak without forcing damaged pipes or fittings.
- Remove standing water fast using wet/dry vacuums, pumps, or extraction equipment.
- Cut out soaked drywall, insulation, and other unsalvageable materials right away.
- Dry the area with fans and dehumidifiers, checking moisture levels until surfaces are fully dry.
- Sanitize all affected surfaces and inspect for hidden damage or mold behind walls and flooring.
Stop the Leak and Shut Off Water
Start by stopping the leak as quickly as you can, then shut off the main water supply to prevent further damage.
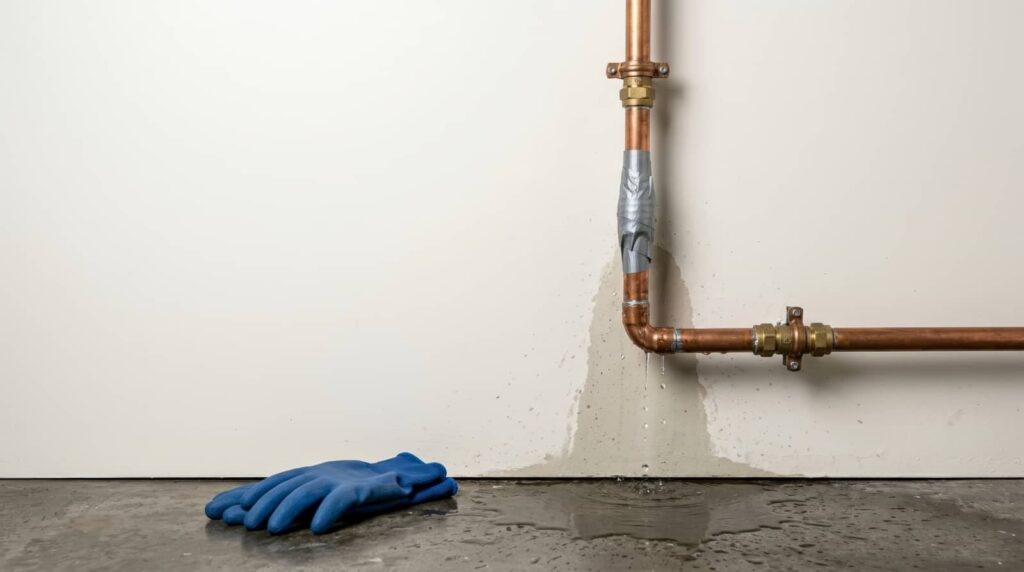
Use leak detection to find the exact source, checking joints, valves, and visible pipe runs for drips or spray. If you can reach the line safely, tighten fittings with emergency tools like an adjustable wrench, pipe clamp, or temporary repair tape.
Don’t force damaged parts; you could worsen the break. Turn off nearby fixtures, and alert everyone in the home so no one restores flow by accident.
If the leak continues, keep pressure off the line and call a licensed plumber. Acting fast helps your crew stay in control, reduce loss, and move to cleanup with confidence together.
Extract Sewage and Standing Water
Once the leak is contained, extract any sewage and standing water immediately with a wet/dry vacuum, submersible pump, or extraction truck if the volume is large. You’ll speed recovery and limit spread when you handle water extraction fast.
Keep hoses, cords, and outlets clear, and work from the safest dry zone toward the lowest point. If you’re doing sewage removal, use sealed containers and avoid splashing to protect your crew and your home.
Check hidden pockets under fixtures, along baseboards, and inside low spots so water doesn’t linger. Empty equipment often, and monitor the area until no visible liquid remains.
When you stay methodical, you’ll move with the same confident team spirit others rely on after pipe damage.
Remove Damaged Materials and Contaminants
Cut out and remove any materials that can’t be safely dried, including soaked drywall, insulation, carpet padding, baseboards, and warped trim. You’ll stop hidden moisture from feeding mold and limit spread into nearby rooms.
Work methodically, bag debris as you go, and separate clean salvage from contaminated waste. Wear gloves, eye protection, and a respirator if debris is dusty or odor-heavy.
Score damaged sections cleanly, then pry them out without tearing surrounding finishes. Keep the area organized so your team can move safely and you can track what’s been removed.
Follow local rules for material disposal, especially if sewage or other contaminants were involved. Taking out compromised materials now protects your home, supports mold prevention, and gets your cleanup crew back on track together.
Dry Walls, Floors, and Insulation
With damaged materials removed, you can dry the exposed walls, floors, and any salvageable insulation before moisture spreads deeper.
Set up high-velocity fans and a dehumidifier to move air across wet surfaces, and keep windows closed if outdoor humidity is high.
Lift carpet edges and remove baseboards only if they’re still sound, so trapped moisture can escape.
Check the subfloor and framing with a moisture meter; keep drying until readings return to safe levels.
Replace saturated insulation that won’t rebound, but save sections that still hold shape for insulation repair.
This step matters for mold prevention and helps your crew stay ahead of secondary damage.
Work methodically, document moisture levels, and don’t rush reassembly until everything feels dry and stable.
Sanitize and Check for Hidden Damage
After drying, sanitize all affected surfaces with a cleaner or disinfectant approved for the material, then inspect the area for hidden damage behind trim, under flooring, and inside wall cavities.
Use gloves and eye protection, and work from clean to dirty zones so you don’t spread contaminants. Check studs, subflooring, and insulation for staining, swelling, or soft spots.
If you smell musty odors, look deeper for hidden mold and remove compromised materials promptly. Photograph what you find so you can track repairs and share details with your contractor or insurer.
Mark any damp areas for reinspection after 24 to 48 hours. These preventive measures help you confirm the space is safe, protect your crew, and keep your home community-ready.
Frequently Asked Questions
How Do I File an Insurance Claim for Pipe Damage?
Call your insurer, report the pipe damage, and start the claim process. You’ll submit photos, repair estimates, and receipts. Follow documentation tips: date everything, keep copies, and stay in contact with your adjuster.
When Should I Call a Plumber Versus a Restoration Company?
Call a plumber first if you suspect active leaks or plumbing emergencies; they’ll stop the source. Then call restoration services if water’s spread, because quick drying prevents mold and protects your home and belonging.
Can I Stay Home During Pipe Damage Cleanup?
You can stay home only if cleanup safety is verified and you’ve taken home precautions. Avoid contaminated areas, keep power off, and follow the crew’s directions. If there’s sewage, mold, or structural damage, leave immediately.
What Signs Indicate Hidden Mold After a Pipe Leak?
You’ll notice hidden mold through musty odors, peeling paint, discoloration, warped drywall, and mold symptoms like coughing or headaches. Check damp areas fast, then use prevention tips: dry materials, improve ventilation, and monitor humidity.
How Long Does Pipe Damage Cleanup Usually Take?
You’ll usually finish pipe damage cleanup in 1–5 days, but pipe damage duration depends on cleanup factors like leak size, drying speed, and hidden moisture. You can speed recovery by acting fast, coordinating professionals, and monitoring humidity.
Final Thoughts
When pipe damage hits, you’ve got to move fast: shut off the water, pull out standing water and sewage, strip out damaged materials, then dry and sanitize every affected surface. Treat the area like a live wire—one missed step can spark bigger problems. If you stay methodical, you’ll limit structural damage, slow mold growth, and get your space back under control sooner. Quick action now can save you costly repairs later.
Recent Posts
Why Hire Pipe Damage Cleanup Experts?
You need fast cleanup, careful cleanup, and expert cleanup when pipe damage hits your home.
What Pipe Cleanup Experts Do Nearby
When a sewer line backs up in your basement after a heavy rain, nearby pipe
5 Best Water Damage Repair Services
When you face water damage, you need a repair service that responds fast, uses the